Sunday, 5 February 2017

Fourth Battletech Battle!

Wow, I sure am getting plenty of mileage out of this particular game!

Once again, my brother and I lined up for our weekend Battletech battle. This time, we would have 85 tons in an urban environment.

Thanks to the handy Mech Factory app for Android (and maybe other platforms? I have no idea), I am using my new Hatchetman variant, named "Hot Rod" for the flames I painted on around its waist.

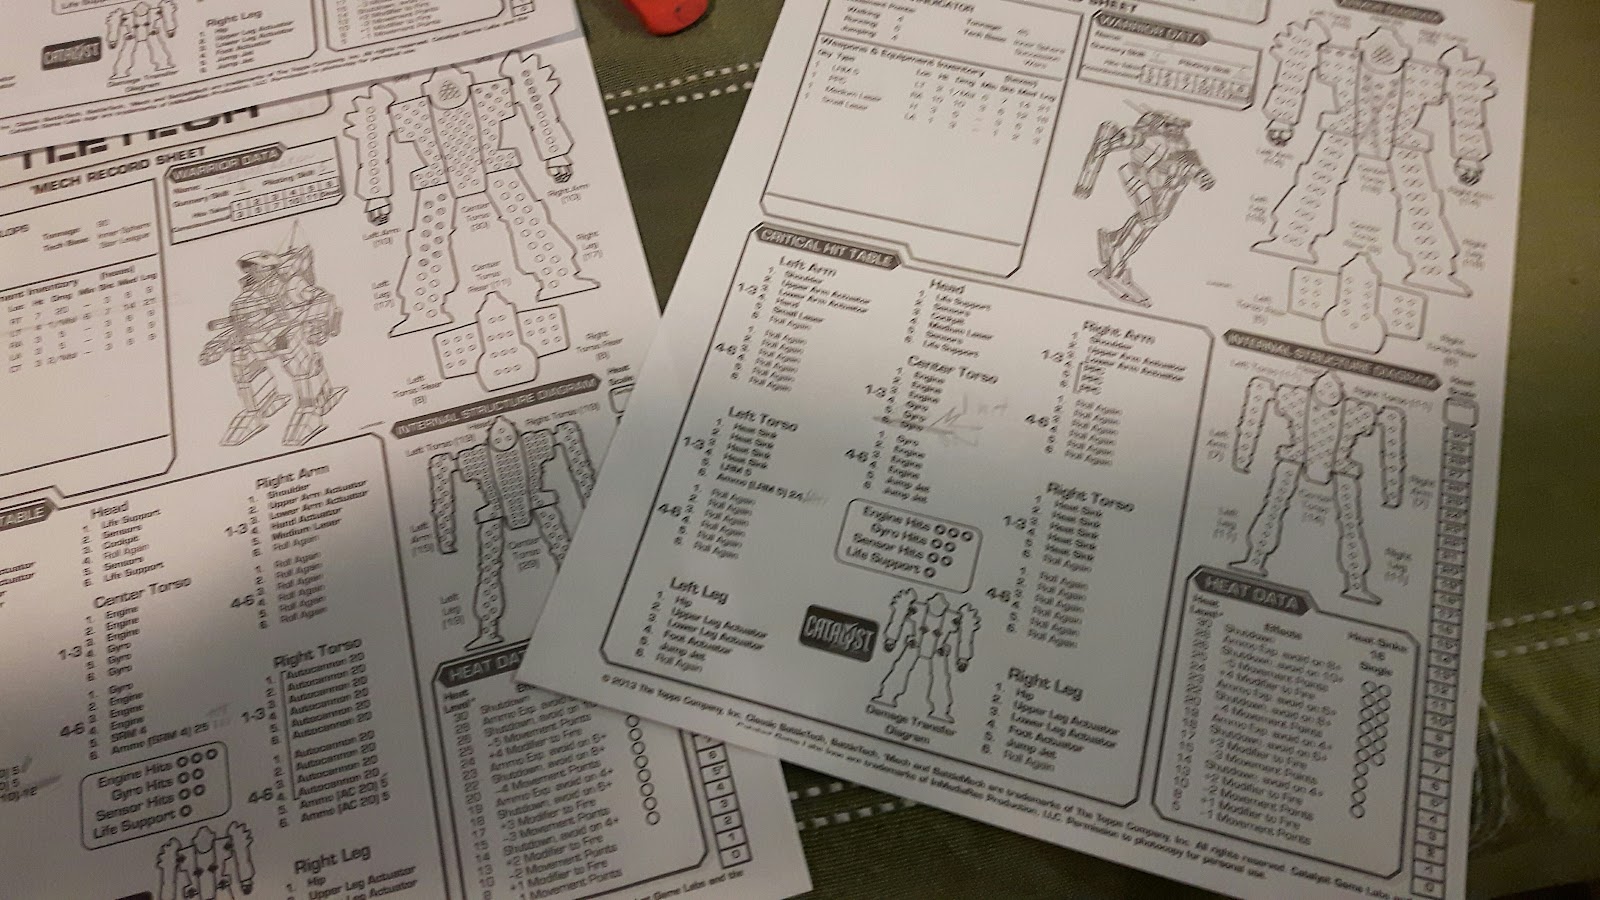
Assuming Mech Factory keeps me within the rules properly, he should be legal... I say should be because I still haven't managed to struggle through the long rules on unit creation in the Tech Manual, so I'm leaving it fully up to the app to regulate me.


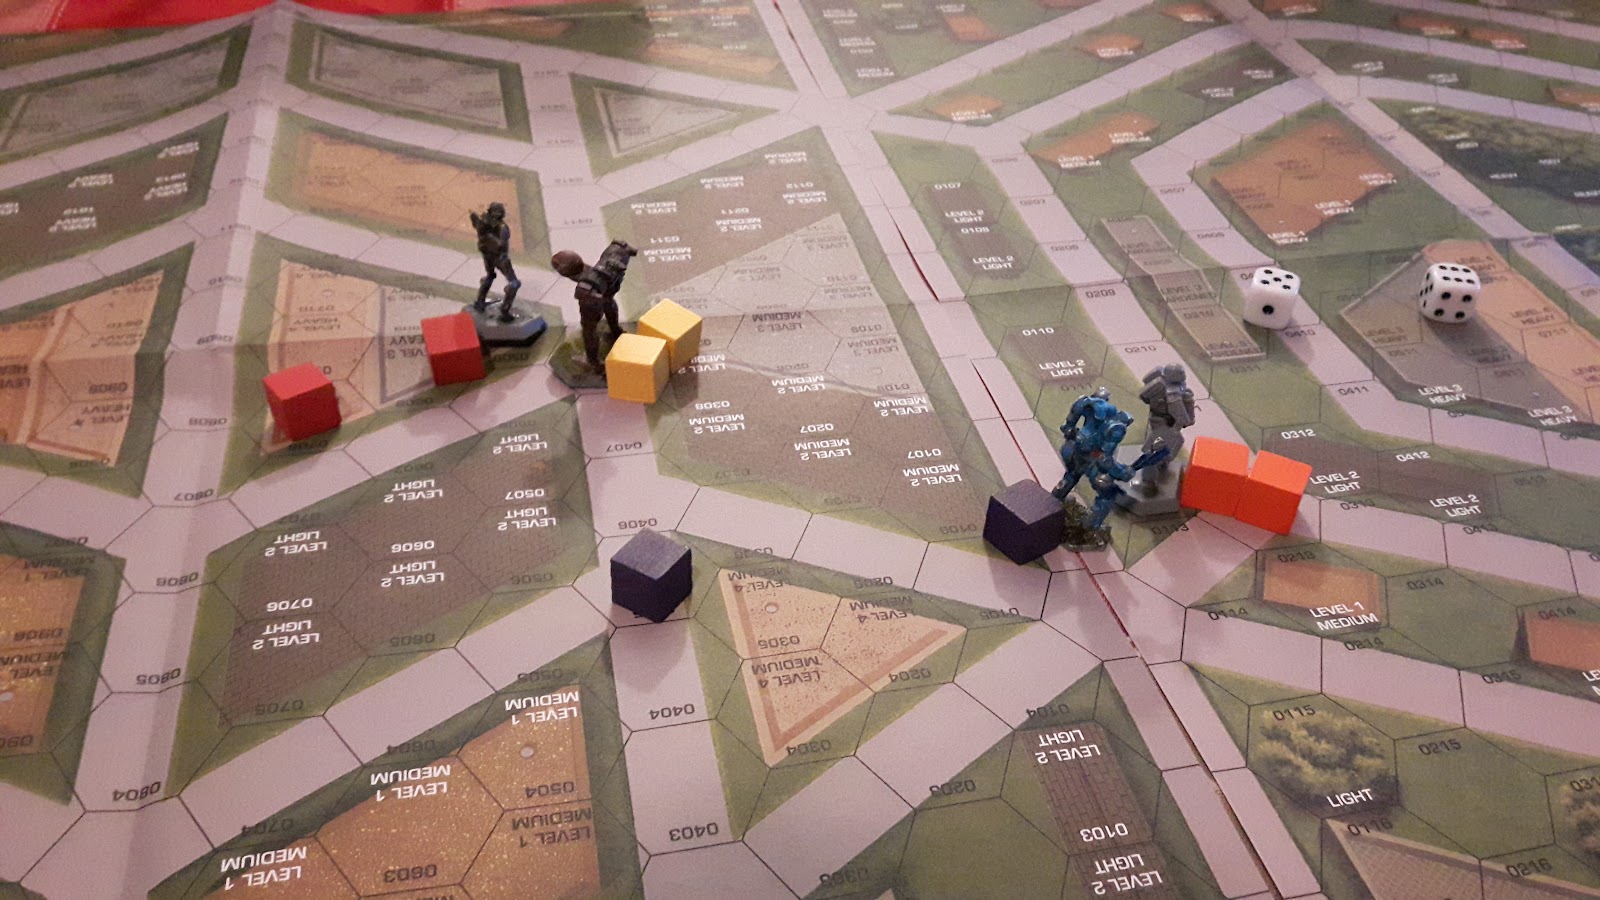
Here are the combatants on their field of battle, an unnamed urban area in the Inner Sphere. On the left are Lizbeth and I, in a Jenner and my Hatchetman,  on the right my brother's recon Lance, a Dervish and a Spider.


The Lances converge rapidly, since all 'Mechs are fairly light (I stripped a lot off my Hatchetman to pin on some extra speed and jump jets, since mobility was always my complaint regarding it). The Spider performs a daring move (not least because we are still learning the related rules), jumping over my Lance and perching on a building to spot for a volley of LRMs from the Dervish, which has found its own place atop a small building.

Failure of the volley sees the Spider pounded by the Jenner. The Spider shifts its goal from spotting to tangling one on one.


Unable to resist, I order a Death from Above from both my 'Mechwarriors.

That said, perhaps I should have resisted... Both miss, and when my Hatchetman slams into the roof beside the Dervish, the building collapses under them!

All downed 'Mechs scramble to their feet, and the Dervish makes another spotted LRM shot at the Jenner as well as firing on the Hatchetman. The LRMs fall short again, but its direct fire tear off the left torso (and by extension, the left arm) of the Hatchetman!

On its return shot, the Hatchetman's own small lasers find a weak point, melting away armur and ferro-fibrous bone to detonate the LRM ammunition in the Dervish! Simultaneously, the Spider receives a lucky gyro hit, falling to the roof beneath it to be kicked to death by the Jenner.


Another great game, but I'm afraid my brother will stop playing with me at this rate! Crafty guy that he is, though, he is already talking about making up some custom 'Mech designs of his own. To complement that ambition, next game, we will be taking the timeline forward!

Welcome the Clans to the battlefield next time in the Dark Ages!

Sunday, 15 January 2017

Third Battletech Battle Report

Hello, and welcome back to Battletech in the Dark Ages! Not Battletech in the Dark Age, of course, since that’s a totally different thing (and we are firmly pre-Clan-invasion at the moment).

This is the third battle my brother and I have played using the Battletech starter box, and this time we will see the first non-starter-box ‘Mech in use, though it's paint job and that of a few of the plastics are unfinished.

That new ‘Mech is the Hatchetman, which I will be personally (imaginarily) piloting for the game. The idea of a ‘Mech purely defined by the fact that it uses an axe in a world of long-range missiles and lasers has always appealed to me, so I was going to have to get this guy someday. I'll just ignore his pretty awful mobility and pretend he's as good as I think.

Honestly though, against lasers, you'd think moving fast to close the gap with your axe would be a priority. Not to mention that melee damage is based on weight, and this particular ‘Mech seems to be on the low end for a Medium - both of those combined mean he does little damage to the ‘Mechs he can catch, and can't catch the ‘Mechs he could kill. Still a cool idea at least.

So our lineup today pits two 200 ton Lances against each other, our biggest battle yet. On my side, we have Aaron, Pishniy, Lizbeth and Ashild in a Hatchetman, Hunchback, Commando  and Awesome respectively vs an Atlas, Jenner and Catapult on my brother's side.


We quickly line up, using the long edges for more maneuver room. Putting two boards alongside each other is recommended in the game rules, but my table is only so big, and the Skype computer for my brother to see needs to go somewhere. Plus this is still the simplest board I own - we may start experimenting with more complicated terrain soon, but while we're still learning the rules for ‘Mechs we’re holding off.


Battle is joined quickly, with the emphasis on my right flank as I try to focus down his Atlas once again. The coloured cubes helped us track how far each ‘Mech moved in a turn, which is essential information for determining targeting Modifiers.


The Atlas is encircled but its team rushes in to help it.

My Commando, straying a bit too close to the fray for a light ‘Mech, takes severe torso damage from a volley or LRMs the Catapult lobs it's way, affecting both its engine and its gyro. This causes it to stumble, requiring a piloting roll to stay upright. This would turn out to be potentially the most fateful shot of the game, especially as the flanking Jenner chokes on a followup shot that could have ended the Commando right there.

After a failed piloting roll, the Commando still falls over, but takes little damage due to its low weight. The melee damage rules are applied in almost the same way to falls.


Everything starts to go mad when the Atlas moves back to curbstomp the Commando. The Hatchetman springs into action from behind the treeline, flying over on jump jets to axe the Atlas, while the Awesome comes in for a blast of point blank PPCs.

The Atlas launches an alpha strike spread out across the Hunchback and Awesome, but its fire is largely ineffective.

The Commando fires from the prone position in desperation but its weapons are not exactly powerhouses, and I'm not sure the Atlas felt a thing!

Atlas, with a single powerful kick, crushes the Commando’s arm right off while the Hatchetman sinks its hatchet into the Atlas’ left leg, already weakened by fire, but somehow the leg armour holds! Told you the hatchet wasn't that good…

This is where the battle really gets good though.

The Commando overheats so bad from the combination of firing all its weapons and the previous rupture of its engine shielding that it suffers rippling ammo explosions in all magazines (3 saving rolls, and I failed every one!). The pilot stays conscious despite the damage and the auto-eject function gets her clear of the ‘Mech. In the subsequent conflagration, the Commando takes 290 damage and is annihilated, the Atlas takes 29, and the hatchetman 15. (Using a combination of the ammo explosions rules from Total Warfare and the rules for dramatic engine meltdowns from the Tactical Operations rulebook to spread the damage around, since it seemed appropriate given the degree of fail going on)

The hatchetman’s left leg is stripped of armour, while the Atlas ‘ leg is blown clean off. It is then thrown clear of the hex! All 100 tons of it!


The Atlas pilot ejects as he realizes how difficult it would be to stand up and fight back effectively while surrounded, and the Jenner flees the battlefield using its incredible speed.

The Catapult and Awesome trade one last desultory volley, and the Awesome’s left arm is blown off as the Catapult flees into the sunset.

The Atlas pilot is picked up by our Lance and treated well before being released. His mech, or what's left, is kept as salvage.

I'm going to be honest, just resolving the ammo explosions took most of the time in that battle! There's always new rules to get hung up on in this game, it seems. They are worth it for the experience though, as you do get some tense battles every time.

It only remains to be seen how long I can keep my Lance on a winning streak like this… every time I've beat that Atlas so far, it has been sheer luck. When my luck gives out, something tells me we are in for a much rougher ride.

Thanks for reading, and I hope you'll come around to see how the next one turns out!

Saturday, 19 November 2016

Another Battletech battle report!

Hello again, and welcome back to the dark ages! It’s time for another Battletech battle report!

This time around, we're not playing solo - I've roped my brother into leading his own half-lance against me over Skype for his first game. Time to get some attention against another human being and see how that changes up gameplay.

He generated his own characters, and I rolled up a very average pilot for my Panther while using the same stats as last time for myself. Unfortunately, I don't have them written down here, so I can't tell you exactly what they were.
As for ‘Mechs, we went with 1 assault and 1 light, to let me use my current favourite, the Cyclops, while he got to pilot his own favourite ‘Mech from our days playing the computer games, the Atlas! Besides that, his Light was a Jenner, a fairly solid choice as far as I know, and I picked the Panther, who turned out to be MVP for the skirmish! You'll see why soon enough, haha.


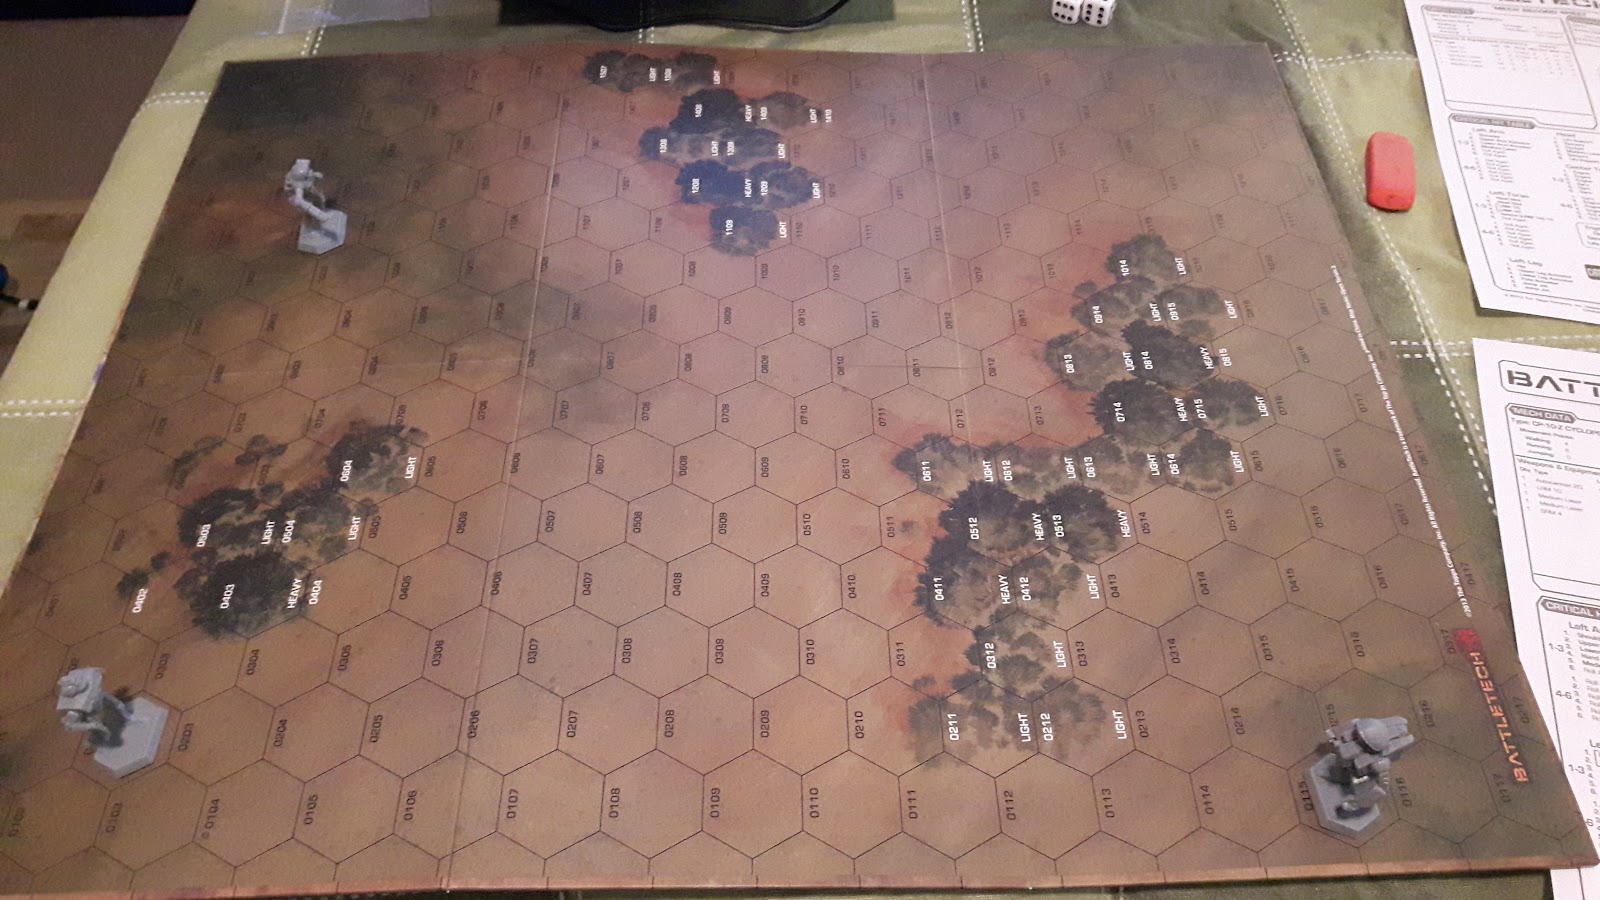
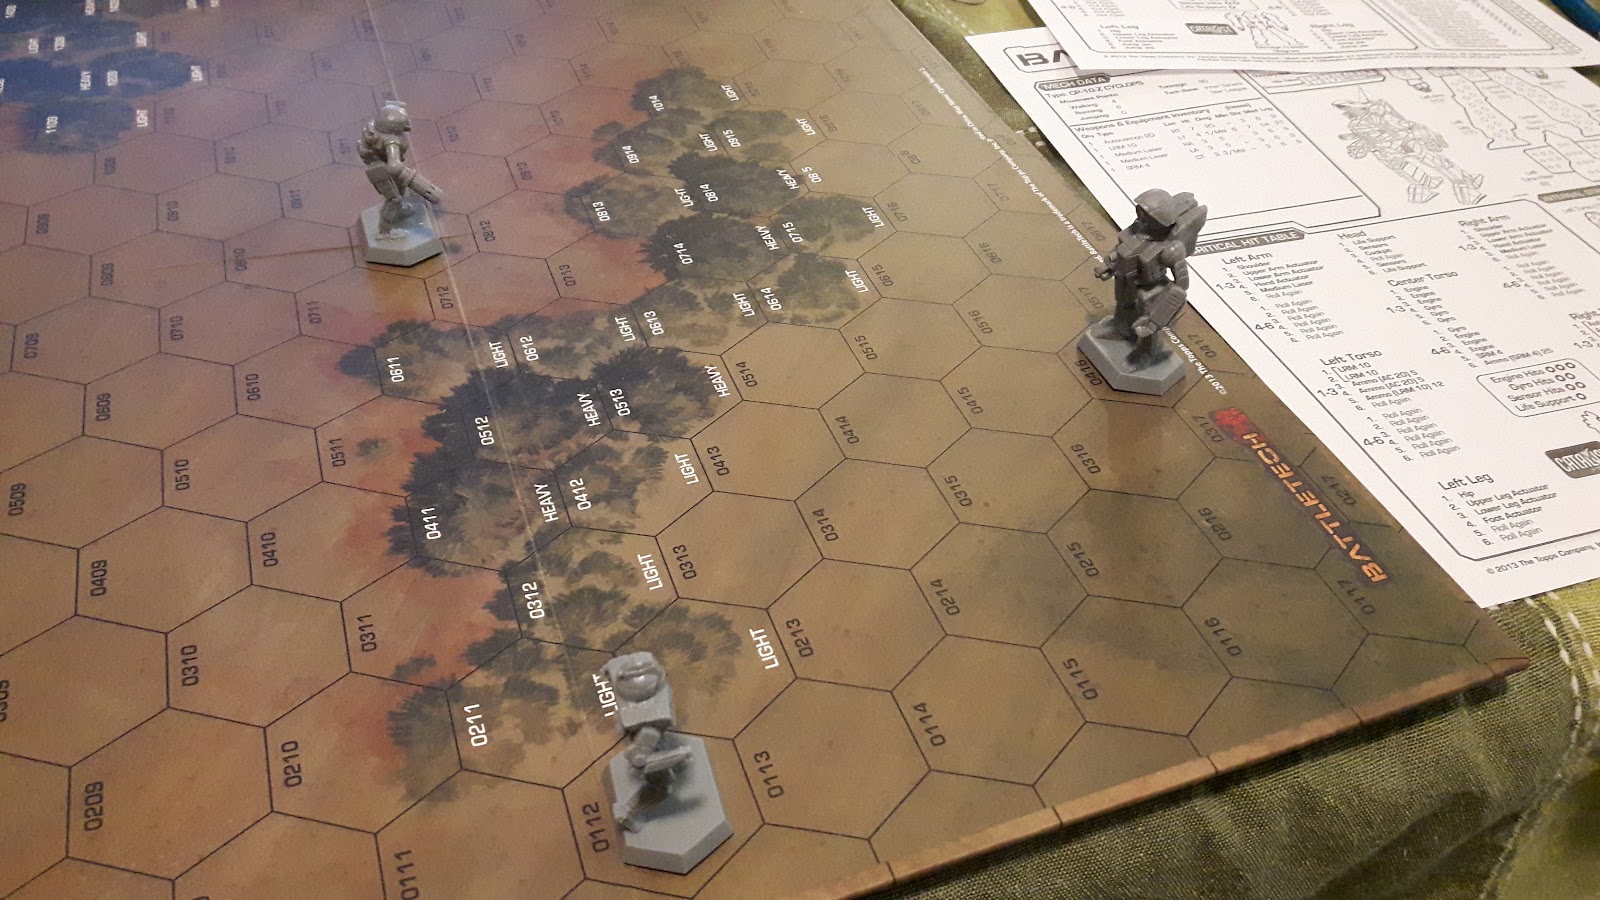
The game begins with our 2 ‘Mech lances squaring off across basically a single line of woods. While I don't want to close up and brawl with his Atlas, I also don't want to be in its front arcs any longer than I need to, so I push out my Lance to try flanking right around.


My brother's Jenner does a decent job of getting in the way with its frankly remarkable speed, and we start firing while all clustered together. In the first volley, the highlights are the Panther unleashing a bolt from his PPC straight into the Atlas’ head and taking a volley of LRMS to the torso in return. What a shot! The armour is fully stripped from the Atlas’ head now, its weakest part. Good thing for them that that was one in a million...


The little clusterf**k continues, as I keep trying to turn the Atlas’ flank. Relatively little damage is done, but with all the Alpha strikes being tossed at close range, we're getting a rude introduction to the heat management rules!


In an unfortunate turn of events, the left arm is blown clean off my Cyclops. However, it had done it's job - the Atlas was turned, and the Panther took its chance to fire again. H-h-headshot! The Atlas, basically undamaged except for the two (!) PPC bolts to the head, collapses into a heap! What a show by the Panther! But it doesn't end there. In the same turn, the Jenner charged the Panther to get some melee in and maybe knock it down. Little did he know that the pilot of the plucky blue ‘Mech was able to both snipe an assault and dodge the charge simultaneously!


In a desperate attempt to regain control of the situation, the Jenner attempts to kick the Panther. This is a success, but it's pilot keeps it upright, and the return fire from both my ‘Mechs knocks off one arm and one leg. The Jenner’s pilot then makes the probably smart decision to eject after hitting the ground.


Wow! Well let it never be said that Lights can't do some good work if you let them! Of course, the Panther is something of an exception with the big old PPC… of course, if he hadn't hit his targets with such aplomb, I'm sure I would have been lamenting bringing along such a one-trick-pony. That being said, if it weren't for those shots, I'm not sure how I would've taken the hulking Atlas down.


Of course, we both still need more practice, but I'm sure there'll be plenty more opportunities to get some in the future. Fingers crossed, if I just pick up a paintbrush again before then, I may even get to pilot my favourite ‘Mech from the fluff! I've read it's not the best choice in tabletop, but I've never been one for the meta of any game - it's a game for fun, after all. And besides, in the end, I'd rather be the prettiest corpse on the battlefield!

Thanks for reading, and see you all next time!

Tuesday, 11 October 2016

Battletech intro and practice!

Hello again, and welcome back to the Dark Ages! 

Two exciting new things in today's post:

First, I am posting from my phone, a new Samsung Galaxy something neo. It's a pretty drastic technological improvement over my blackberry (it can access this site to post things, for one example), but autocorrect is a huge pain, so I expect some mistakes (not to mention format errors) to sneak into the first few posts done on this thing. Feel free to point them out so I can fix them for next time!

Second, I recently received my Classic Battletech Introductory Box set, and all I can say is wow. Intro rules and expanded rules, sturdy cardboard maps, a full book of fluff and literally handfuls of beautiful plastic miniatures! What a deal! Not to mention that the game is quickly growing on me, haha.

Of course, I will warn any prospective buyers : the introductory box set comes with everything you need to play basic mech on mech battles, with many rules (enough to overwhelm you at first, I can say for a fact), but it doesn't have the full rules. Those will run you a considerable additional cost, as will the tech manual (for making up your own mech builds), the advanced rule expansions for hostile environments, planetary landings, space combat, etc, and many books of fluff and technology on the various eras of the Battletech universe. Plus any additional mechs, infantry, vehicles, maps and whatever else you don't want to scratch build. 

What I'm saying is, the intro set is fantastic, but it has a strong potential to be a gateway drug to a whole lot more purchases and depth. However, with its breadth of content, it should easily keep you busy until you've saved up your allowance to pickup some supplements and introduced some friends to the game so you can spread the load. ;)

All that being said, here is a quicky battle report of my second test of the rules, played solo. The first was the very basic introductory scenario using the simplified rules, and I was too busy keeping up to grab my phone and jot anything down on Google docs/take pictures like I did this time.

Here goes :

"

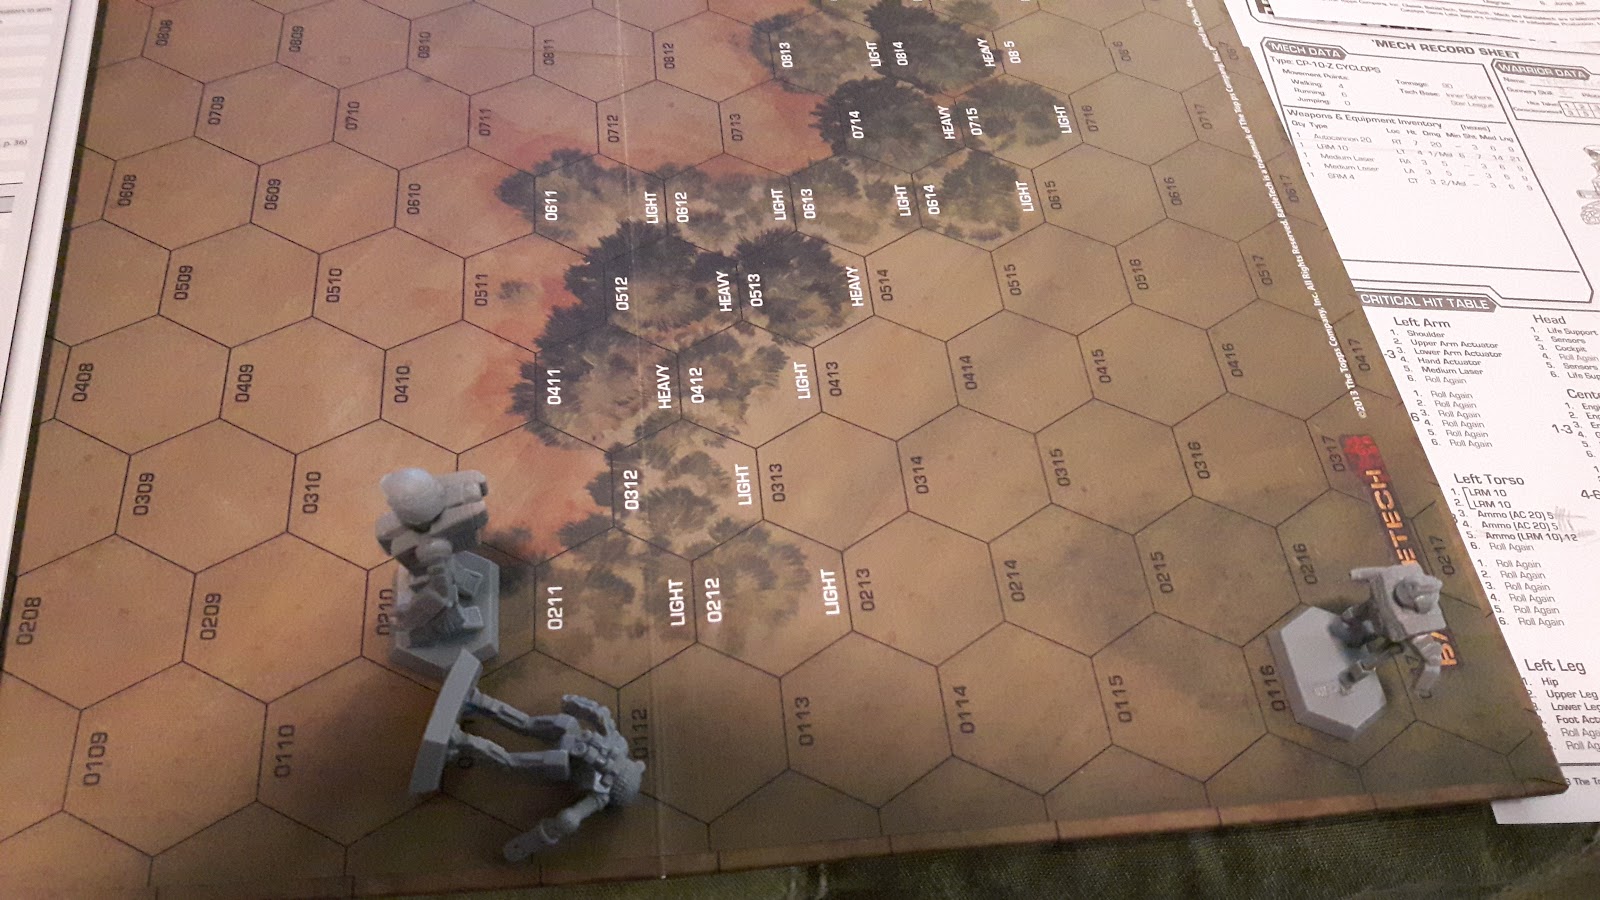
Trainee Aaron of the KRC (Karkand Recon Corps) in a CP-10Z Cyclops mech prepares to face his first round of testing, pitted against two fellow warriors in unpainted mechs fresh from the assembly line. His gunnery skill is above average and his piloting is slightly sub standard, per random rolls. (The game includes rules for rolling the two major stats for your mechwarriors, piloting and gunnery. It just so happens I rolled a fairly balanced spread, one below average in piloting and one above in gunnery)


The lighter mechs close in to get past the treeline, which he is using to negate their range advantages. (Thick enough tree cover prevents vision and attack altogether, while even a few will make hitting you harder for the enemy - against two quick mechs with long range weapons, pulling them in to brawl with my monster of an Autocannon seemed like a safer bet than letting them run around and kite me until they were out of ammo)


In the ensuing fight, the cyclops loses some armour, but it's Autocannon crushes the chest of the vindicator, damaging its gyro. (The light mechs pressed through the woods on either side of my cyclops and started ablating my defenses - armour is worn down by attacks to access the more sensitive equipment inside - but I turned out to be right about the deadly combo of Autocannon 20, 3 gunnery, and close range)


Aaron closes to destroy the vindicator while its parter rushes to flank him.


The vindicator takes another centre torso Autocannon hit and collapses, out of the fight.


The vindicator collapses alongside the torso-twisted cyclops that shattered its body. (He had tried to run past me to get out of the arc of fire of my Autocannon,  mounted in my torso. Turns out I can twist at the waist and hit him anyway!)


Shortly thereafter, the AC20 claims it's second victim, with critical damage to the engines of the Whitworth,  which by then had lost both arms, knocking it out of the fight as well.

Aaron’s mech was well-worn after the training session, but he had passed. It was time to report for more rigorous training, leading a Lance (like an armoured troop, only the tanks walk),  and get some paint on his mechs. Mercenaries earn no money in training after all."

That's all for now, thanks for checking in, and see you next time!

CMFI - Canadians meet Italians in Castelleti Pass - Final

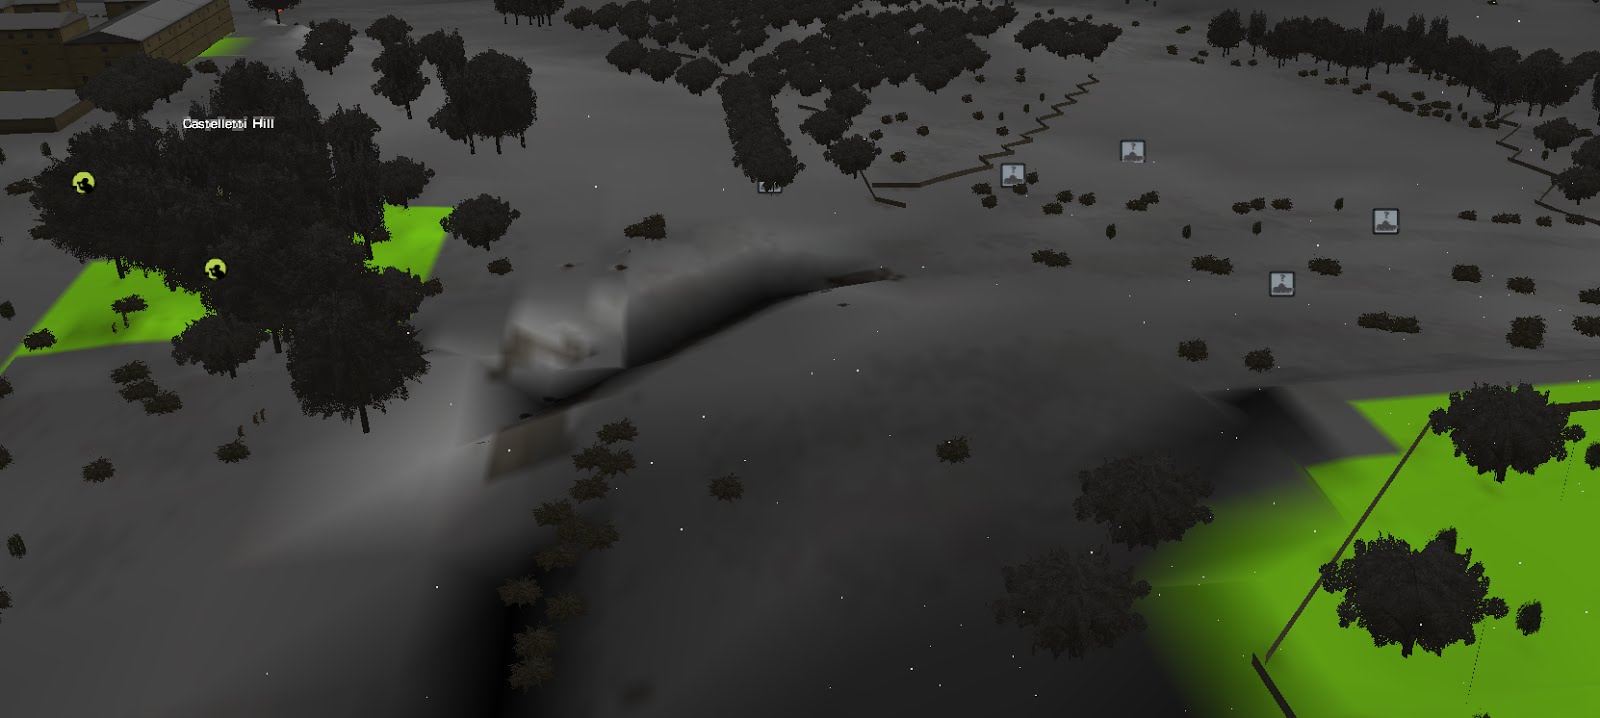
The situation in Castelleti Pass after 12 minutes.


Canadian Command and Control is being degraded, the Key Terrain is universally in Italian hands, and support fire is still not coming in. The right flank is rapidly collapsing, and the Sherman will be in great danger soon. The centre is holding, but that's the best that can be said. Contact is rapidly heating up around the Villa, and two sections seem to have already been effectively exterminated.

But there's still a chance, if we can fool the Italians into thinking they're still worse off than we are...

The Sherman, with rapid movement and accurate fire, will be key to this strategy - it is the sole unit we have that can reliably take on one or more armoured car with a fair chance of not only surviving but eliminating them, if it can be used intelligently.

At this point, with computer troubles galore (my excuse for the huge amount of time it took to finally post this) the game appears to have died the death. As far as this battle went, I'd say I had a decent chance of still winning, but only based on the point value I was surely netting from destroying vehicles in exchange for my troop losses. While the ahistorical troop choices mean this was a oddball, it was still fun, if mostly for the scrambling I had to do to readapt in the face of overwhelming Italian steel. Good game again, and until next time!

Friday, 24 June 2016

CMFI - Canadians meet Italians in Castelleti Pass - Part 4

The situation for the Canadian Recce Squadron is looking dire. Italians swarm over the hills and through the woods.

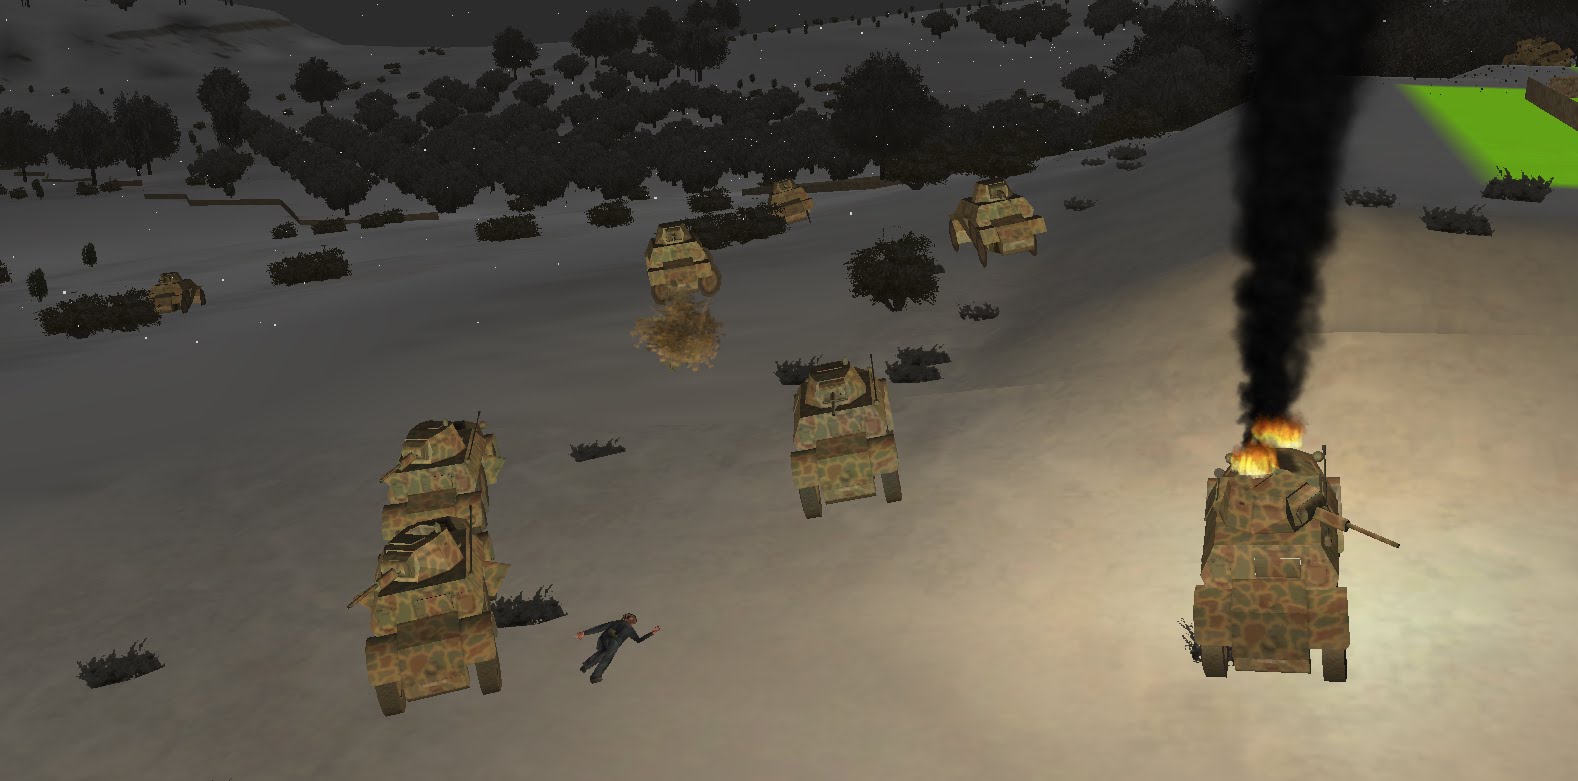
The situation at the start of the 9th minute of combat... (oriented for our troops, so North is at the bottom again) note the swarms of Italians near KT 2 and 3, some pushing through the woods of KT 4, and one scouting around the far side of the Villa in the East.


The fascists swarm through the gap between Orchard and Hill, passing the bodies and burning hulks of their first casualties


2Lt Speller, 2IC 1 Troop, and his section are surprised by more Bredas suddenly surging into KT 4.


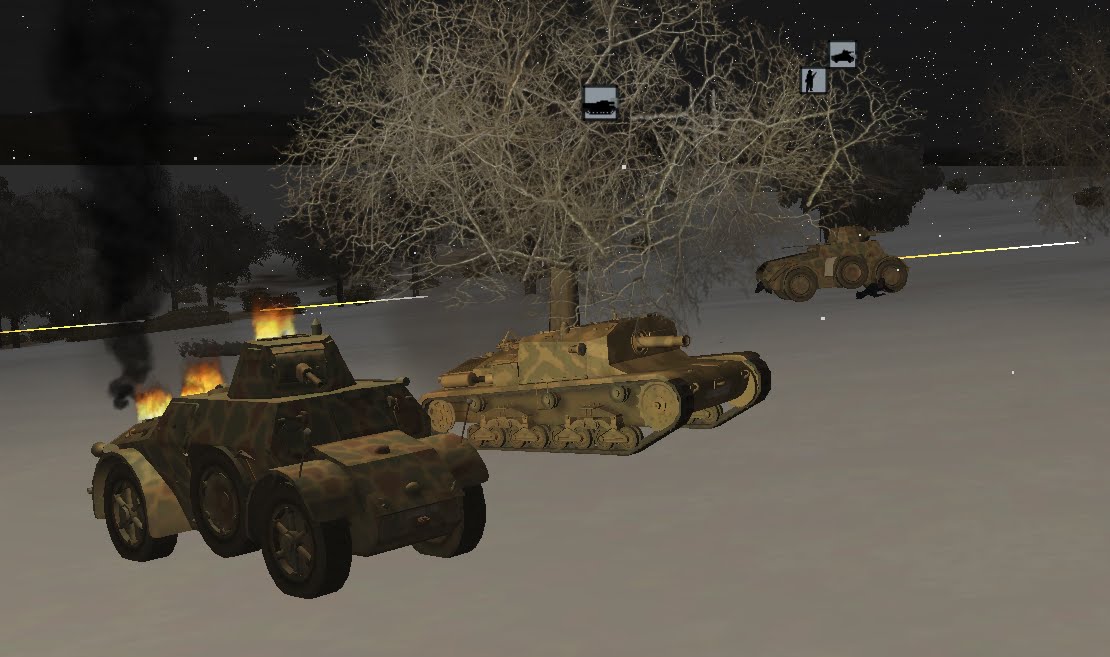
A new challenger appears... directly ahead of our Sherman, which is busy mercilessly riddling a nearby Breda with its coax. The Obice da assault gun fires once, and hits a tree, drawing Cpl Cenette's attention.


Cpl Epp's Section dismount to sneak up on a Breda by the light of a brewed allied car.


A (fortunately) already dismounted Universal Carrier is pummeled by a Breda's 20mm autocannon, adding to the din and smoke filling the valley.


Pte Smithson, thinking he is the last living man in his section by the Villa, drops his weapon in the hopes that the rampaging Italians see it and spare him.

The Canadians' situation is looking grim at the moment, but as they dig in to what positions they have, they continue to bleed the Italians. The engagement is still up in the air, but it is certain that the snow will be red by the light of day.

Monday, 2 May 2016

CMFI - Canadians meet Italians in Castelleti Pass Part 3

The Breda claims first blood...

...knocking out 3rd Vehicle/1 Section/1 Troop, and killing all but the Commander, Corporal Monger.

Our withdrawal from enemy line of sight was not as planned. Given the enemy's armament (a 20mm cannon) versus the machine guns on our own armoured cars, I maintain that it was a solid decision. That said, I had hoped it had seen none of us at all, and everyone would get to defilade safely. Fortunately, Monger's crew's sacrifice made time for all other vehicles to get to safety.

Capt Mason and his section crawl to safety, safe from the Breda's limited vision.

Sound contacts approach the hill - likely vehicular. Our barrage on the orchards may be a bit late. It will be adjusted to cut off their advance if possible.

View from 4vic/1 Section/3 Troop, at the tail end of the traffic jam blocking the road in the valley - concentrating several troops along one road in the snow may have delayed our getting to position significantly.


A second Breda coming from the same direction as the first hits a second armoured car from 1 Troop / 1 Section multiple times...


...but on discovering his crew is still alive, Sgt Mock orders return fire on the Breda. As predicted, the .30 cal has little effect on the enemy car.


Now that it is evident that they have been seen, Sgt McWhite of 1 Troop orders his car to fire as well; the ridge is lit by gunfire from all directions.


As his troop's cars are brewed up one by one by the Italian 20mm cannons, Lt Anders, HQ 1 Troop, lets rip a burst of machine gun fire in frustration. The sound of more firing down by Castelleti hill drifts up to their ears as well...


The situation, with 5 minutes of the battle down and one minute of near continuous firing behind us.


It is clear by now that the Italian armoured cars outmatch our Scout Cars in a significant way. While penetrations are recorded by .30cal fire against Bredas all down the line, they show no apparent effect, whereas the 20mm shells are punching thumb-sized holes in cars, obliterating crewmen, and brewing up fuel and ammunition across the board. 1 and 2 troop are in contact, and for their losses (4 cars between them) they show not a single Italian car stopped. The Sherman cannot get into position quick enough. 

Our immediate objective is to dismount and spread out - hopefully we can mitigate casualties as the armoured cars pushing past the hill get stuck into the traffic jam in the valley. The artillery, scheduled to come in soon, will also need to be adjusted back, to run across the objectives rather than the orchards - the enemy has outrun all our expectations. Our halftracks in 4 Troop, loaded up so there's infantry on the .50cal, may have a better chance - though they run the risk of losing the whole infantry section if hit... Additionally, various units in the traffic jam - mainly HQ sections - will be retrieving the 2-inch mortars and PIATs from their trunks and preparing to defend the valley.

Hoo boy, this is gonna be a rough one...

1 Section, 3 Troop, flees their burning vehicle. Their commander, Cpl Alarie, is wounded and out of commission. Note the pillars of smoke all the way up the ridge, and the Breda coming under fire as it attempts to crest just to the West of the Hill (KT 2).

Our dismounts wreak bloody vengeance for our losses on the first Italian armoured car to break through near the Hill.

Cpl Cenette pulls his Sherman into position overlooking the Orchard, and within moments kills his first Breda. The Cavalry has arrived! Now to keep it safe as the Italians realize its existence...