
The Breda claims first blood...

...knocking out 3rd Vehicle/1 Section/1 Troop, and killing all but the Commander, Corporal Monger.
Our withdrawal from enemy line of sight was not as planned. Given the enemy's armament (a 20mm cannon) versus the machine guns on our own armoured cars, I maintain that it was a solid decision. That said, I had hoped it had seen none of us at all, and everyone would get to defilade safely. Fortunately, Monger's crew's sacrifice made time for all other vehicles to get to safety.

Capt Mason and his section crawl to safety, safe from the Breda's limited vision.
Sound contacts approach the hill - likely vehicular. Our barrage on the orchards may be a bit late. It will be adjusted to cut off their advance if possible.

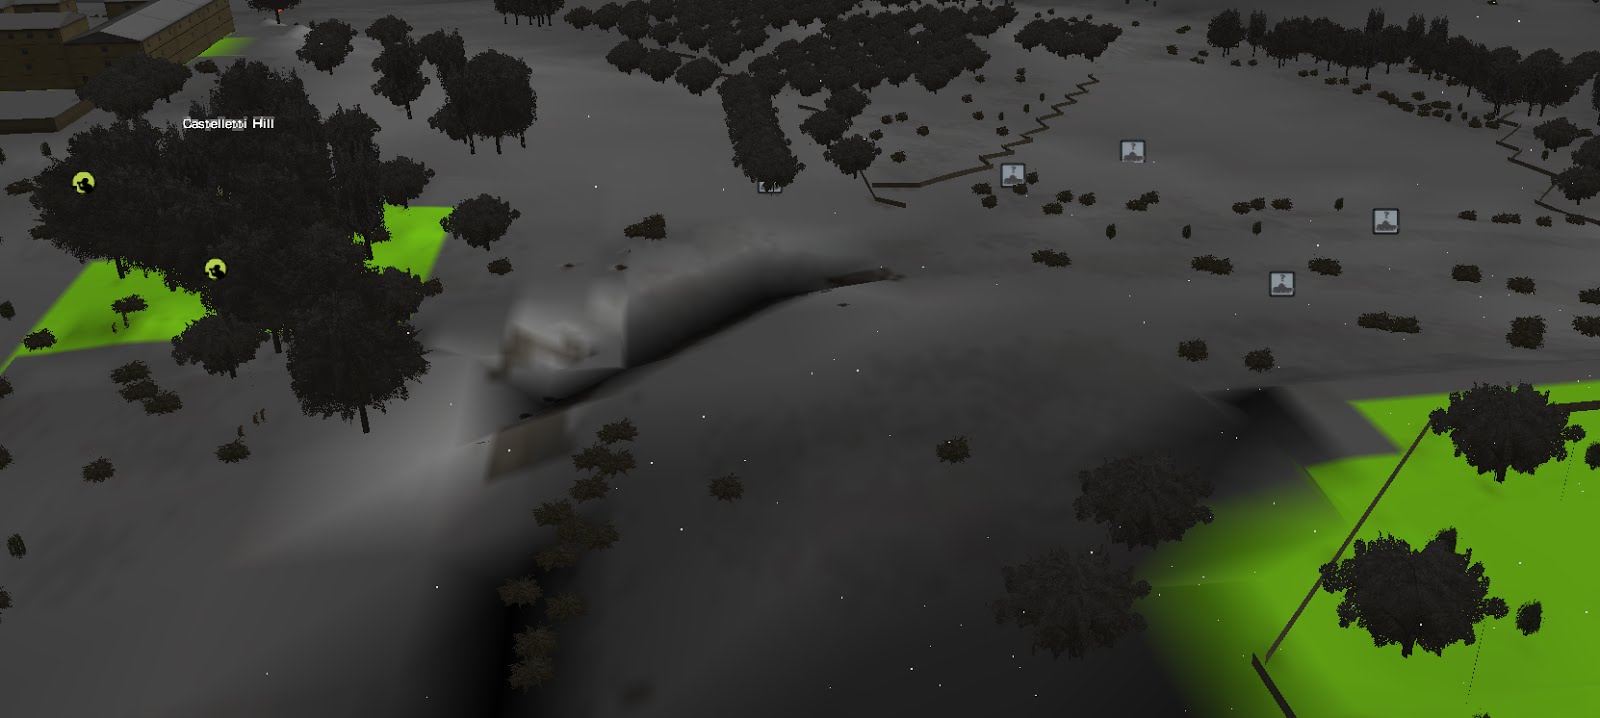
View from 4vic/1 Section/3 Troop, at the tail end of the traffic jam blocking the road in the valley - concentrating several troops along one road in the snow may have delayed our getting to position significantly.

A second Breda coming from the same direction as the first hits a second armoured car from 1 Troop / 1 Section multiple times...

...but on discovering his crew is still alive, Sgt Mock orders return fire on the Breda. As predicted, the .30 cal has little effect on the enemy car.

Now that it is evident that they have been seen, Sgt McWhite of 1 Troop orders his car to fire as well; the ridge is lit by gunfire from all directions.

As his troop's cars are brewed up one by one by the Italian 20mm cannons, Lt Anders, HQ 1 Troop, lets rip a burst of machine gun fire in frustration. The sound of more firing down by Castelleti hill drifts up to their ears as well...

The situation, with 5 minutes of the battle down and one minute of near continuous firing behind us.
It is clear by now that the Italian armoured cars outmatch our Scout Cars in a significant way. While penetrations are recorded by .30cal fire against Bredas all down the line, they show no apparent effect, whereas the 20mm shells are punching thumb-sized holes in cars, obliterating crewmen, and brewing up fuel and ammunition across the board. 1 and 2 troop are in contact, and for their losses (4 cars between them) they show not a single Italian car stopped. The Sherman cannot get into position quick enough.
Our immediate objective is to dismount and spread out - hopefully we can mitigate casualties as the armoured cars pushing past the hill get stuck into the traffic jam in the valley. The artillery, scheduled to come in soon, will also need to be adjusted back, to run across the objectives rather than the orchards - the enemy has outrun all our expectations. Our halftracks in 4 Troop, loaded up so there's infantry on the .50cal, may have a better chance - though they run the risk of losing the whole infantry section if hit... Additionally, various units in the traffic jam - mainly HQ sections - will be retrieving the 2-inch mortars and PIATs from their trunks and preparing to defend the valley.
Hoo boy, this is gonna be a rough one...

1 Section, 3 Troop, flees their burning vehicle. Their commander, Cpl Alarie, is wounded and out of commission. Note the pillars of smoke all the way up the ridge, and the Breda coming under fire as it attempts to crest just to the West of the Hill (KT 2).

Our dismounts wreak bloody vengeance for our losses on the first Italian armoured car to break through near the Hill.

Cpl Cenette pulls his Sherman into position overlooking the Orchard, and within moments kills his first Breda. The Cavalry has arrived! Now to keep it safe as the Italians realize its existence...
No comments:
Post a Comment